When to repot a plant?
- Is my plant top-heavy and does it fall over easily?
- Are roots growing through the bottom of the drainage holes of the pot?
-
Are roots pushing the plant up out of the pot?
Does my plant dry out more quickly than usual? (Note that this is also dependent on seasons, in summer it will dry out quicker than in winter) - Is my plant growing slower than normal? (this can also be caused by winter dormancy or a nutrient deficiency!)
- It has been years since you repotted
- The current soil is of bad quality
While there are many people claiming some types of plants do great rootbound, from experience I have always seen an increase in growth after repotting correctly.
Why repot your plant?
Repotting your plants has many benefits! Your plant will receive new nutrients to jumpstart it’s growth, it also has much more space to expand its root system. When done correctly, your plant will be very happy.
How to repot your plant?
Here is what you need
- Your plant
- A new pot, 2-6cm larger than your current pot, with drainage holes
- Fresh potting soil
- Gloves (Optional, using your bare hands will make you feel like a real gardener!)
Step 1.
Pick a larger pot.
I recommend to go at least an 2cm’s (~¾ inch) up in size both in width and height. The larger you go the more room the plant has to grow out in, however too large of a pot will make it hard for the plant to take up all the water in a timely manner. This increases the risk of root rot. Read more about picking the perfect pot.
Step 2.
Remove the plant from the current pot
To easily remove the plant from the pot, roll the pot between your hands while gently squeezing. Slowly squeeze harder until the plant pops out of the pot. Hold your plant at the base where the stems/trunks meet the soil.
Step 3.
Remove old dirt from the roots
Gently brush the old roots with your fingers until most of the old soil is off. If you want you can hold the roots under a sink (with lukewarm water!) to really get the small pieces out. It should feel like you are massaging the root ball.
If the plant is heavily rootbound, you might need to break a few roots to untangle the plant. This is not a problem! Agitating the roots will help with promoting new root growth. Just don’t break 'em all.
Step 4
Fill the new pot with ⅓ of the new soil mix
Gently pat the soil down with your hands.
Step 5
Place in your plant and add the rest of the new soil
Hold your plant up so the base of the stem(s) is about 1-2cm (½ -¾ inch) below the top of the pot. Add soil and make sure the plant stays at the correct height. Make sure the soil fills all the places in the pot, tap it and pat the soil down gently once you have filled up the pot.
Make sure to leave at least 1cm (½ inch) from the top of the pot open. This way if you water it the water won’t leak over the edge of the pot!
Step 6
Water your plant, and enjoy!
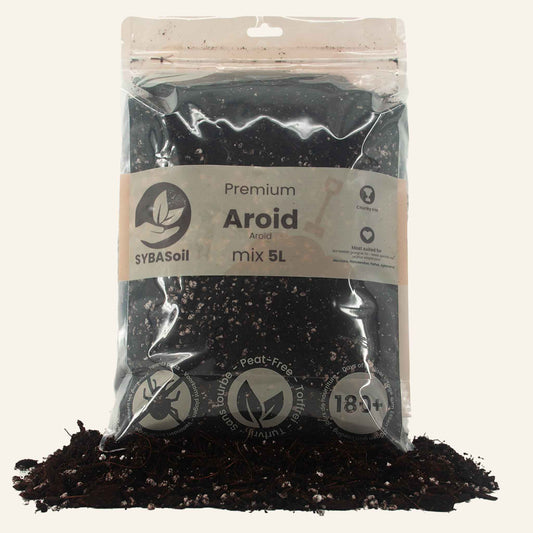
Water your plant thoroughly, this helps your slightly stressed green friend adjust to it’s new soil. Please note that you do not need to fertilise a plant after repotting! SYBASoil contains nutrients for 6+ months, for other potting soils please consult the packaging.
Which soil mix/type should I use for my plant?
This is highly dependent on the plant species, and it’s original habitat. A plant coming from the tropical forest floors like a Fittonia will obviously have different requirements than a plant coming from the scorching desert like a succulent. Use the SYBASoil guide for your specific plant. The ingredients can also be read from the product page if you would like to mix your own.
While I would love for you to use SYBASoil for your next repotting, most plants can also do pretty well on regular houseplant soil found at your local gardening center with some added perlite. The amount of perlite depends on how much drainage you want/need. As a general guideline you can use 50% for cacti/succulents and 25% for tropical houseplants.
Tips & tricks
- Use a scissor to cut the bottom of the old nursery pot if the roots are stuck in
- Lay a trash bag under your repotting area if you will be repotting inside
- Leave your plant in the nursery pot for easy watering & repotting in the future
- Throw your old potting soil in a compost bin!
- Use gloves or a thick fabric when handling cacti


